Creating a chat application using React and ASP.NET Core - Part 4
Jürgen Gutsch - 01 March, 2018
In this blog series, I'm going to create a small chat application using React and ASP.NET Core, to learn more about React and to learn how React behaves in an ASP.NET Core project during development and deployment. This Series is divided into 5 parts, which should cover all relevant topics:
- React Chat Part 1: Requirements & Setup
- React Chat Part 2: Creating the UI & React Components
- React Chat Part 3: Adding Websockets using SignalR
- React Chat Part 4: Authentication & Storage
- React Chat Part 5: Deployment to Azure
I also set-up a GitHub repository where you can follow the project: https://github.com/JuergenGutsch/react-chat-demo. Feel free to share your ideas about that topic in the comments below or in issues on GitHub. Because I'm still learning React, please tell me about significant and conceptual errors, by dropping a comment or by creating an Issue on GitHub. Thanks.
Intro
My idea about this app is to split the storages, between a storage for flexible objects and immutable objects. The flexible objects are the users and the users metadata in this case. Immutable objects are the chat message.
The messages are just stored one by one and will never change. Storing a message doesn't need to be super fast, but reading the messages need to be as fast as possible. This is why I want to go with the Azure Table Storage. This is one of the fastest storages on Azure. In the past, at the YooApps, we also used it as an event store for CQRS based applications.
Handling the users doesn't need to be super fast as well, because we only handle one user at one time. We don't read all of the users at one blow, we don't do batch operations on it. So using a SQL Storage with IdentityServer4on e.g. a Azure SQL Database should be fine.
The users online will be stored in memory only, which is the third storage. The memory is save in this case, because, if the app shuts down, the users need to logon again anyway and the list of users online gets refilled. And it is even not really critical, if the list of the users online is not in sync with the logged on users.
This leads into three different storages:
- Users: Azure SQL Database, handled by IdentityServer4
- Users online: Memory, handled by the chat app
- A singleton instance of a user tracker class
- Messages: Azure Table Storage, handled by the chat app
- Using the SimpleObjectStore and the Azure table Storage provider
Setup IdentityServer4
To keep the samples easy, I do the logon of the users on the server side only. (I'll go through the SPA logon using React and IdentityServer4 in another blog post.) That means, we are validating and using the senders name on the server side - in the MVC controller, the API controller and in the SignalR Hub - only.
It is recommended to setup the IdentityServer4 in a separate web application. We will do it the same way. So I followed the quickstart documentation on the IdentityServer4 web site, created a new empty ASP.NET Core project and added the IdentiyServer4 NuGet packages, as well as the MVC package and the StaticFile package. I first planned to use ASP.NET Core Identity with the IdentityServer4 to store the identities, but I changed that, to keep the samples simple. Now I only use the in-memory configuration, you can see in the quickstart tutorials, I'm able to use ASP.NET Identity or any other custom SQL storage implementation later on. I also copied the IdentityServer4 UI code from the IdentityServer4.Quickstart.UI repository into that project.
The Startup.cs of the IdentityServer project look s pretty clean. It adds the IdentityServer to the service collection and uses the IdentityServer middleware. While adding the services, I also add the configurations for the IdentityServer. As recommended and shown in the quickstart, the configuration is wrapped in the Config class, that is used here:
public class Startup
{
    public void ConfigureServices(IServiceCollection services)
    {
        services.AddMvc();

        // configure identity server with in-memory stores, keys, clients and scopes
        services.AddIdentityServer()
            .AddDeveloperSigningCredential()
            .AddInMemoryIdentityResources(Config.GetIdentityResources())
            .AddInMemoryApiResources(Config.GetApiResources())
            .AddInMemoryClients(Config.GetClients())
            .AddTestUsers(Config.GetUsers());
    }

    public void Configure(IApplicationBuilder app, IHostingEnvironment env)
    {
        if (env.IsDevelopment())
        {
            app.UseDeveloperExceptionPage();
        }

        // use identity server
        app.UseIdentityServer();

        app.UseStaticFiles();
        app.UseMvcWithDefaultRoute();
    }
}
The next step is to configure the IdentityServer4. As you can see in the snippet above, this is done in a class called Config:
public class Config
{
    public static IEnumerable<Client> GetClients()
    {
        return new List<Client>
        {
            new Client
            {
                ClientId = "reactchat",
                ClientName = "React Chat Demo",

                AllowedGrantTypes = GrantTypes.Implicit,

                RedirectUris = { "http://localhost:5001/signin-oidc" },
                PostLogoutRedirectUris = { "http://localhost:5001/signout-callback-oidc" },

                AllowedScopes =
                {
                    IdentityServerConstants.StandardScopes.OpenId,
                    IdentityServerConstants.StandardScopes.Profile
                }
            }
        };
    }

    internal static List<TestUser> GetUsers()
    {
        return new List<TestUser> {
            new TestUser
            {
                SubjectId = "1",
                Username = "juergen@gutsch-online.de",
                Claims = new []{ new Claim("name", "Juergen Gutsch") },
                Password ="Hello01!"
            }
        };
    }

    public static IEnumerable<ApiResource> GetApiResources()
    {
        return new List<ApiResource>
        {
            new ApiResource("reactchat", "React Chat Demo")
        };
    }

    public static IEnumerable<IdentityResource> GetIdentityResources()
    {
        return new List<IdentityResource>
        {
            new IdentityResources.OpenId(),
            new IdentityResources.Profile(),
        };
    }
}
The clientid is calles reactchat. I configured both projects, the chat application and the identity server application, to run with specific ports. The chat application runs with port 5001 and the identity server uses port 5002. So the redirect URIs in the client configuration points to the port 5001.
Later on we are able to replace this configuration with a custom storage for the users and the clients.
We also need to setup the client (the chat application) to use this identity server.
Adding authentication to the chat app
To add authentication, I need to add some configuration to the Startup.cs. The first thing is to add the authentication middleware to the Configure method. This does all the authentication magic and handles multiple kinds of authentication:
app.UseAuthentication();
Be sure to add this line before the usage of MVC and SignalR. I also put this line before the usage of the StaticFilesMiddleware.
Now I need to add and to configure the needed services for this middleware.
services.AddAuthentication(options =>
    {
        options.DefaultScheme = "Cookies";
        options.DefaultChallengeScheme = "oidc";
    })
    .AddCookie("Cookies")
    .AddOpenIdConnect("oidc", options =>
    {
        options.SignInScheme = "Cookies";

        options.Authority = "http://localhost:5002";
        options.RequireHttpsMetadata = false;

        options.TokenValidationParameters.NameClaimType = "name";

        options.ClientId = "reactchat";
        options.SaveTokens = true;
    });
We add cookie authentication as well as OpenID connect authentication. The cookie is used to temporary store the users information to avoid an OIDC login on every request. To keep the samples simples I switched off HTTPS.
I need to specify the NameClaimType, because IdentityServer4 provides the users name within a simpler claim name, instead of the long default one..
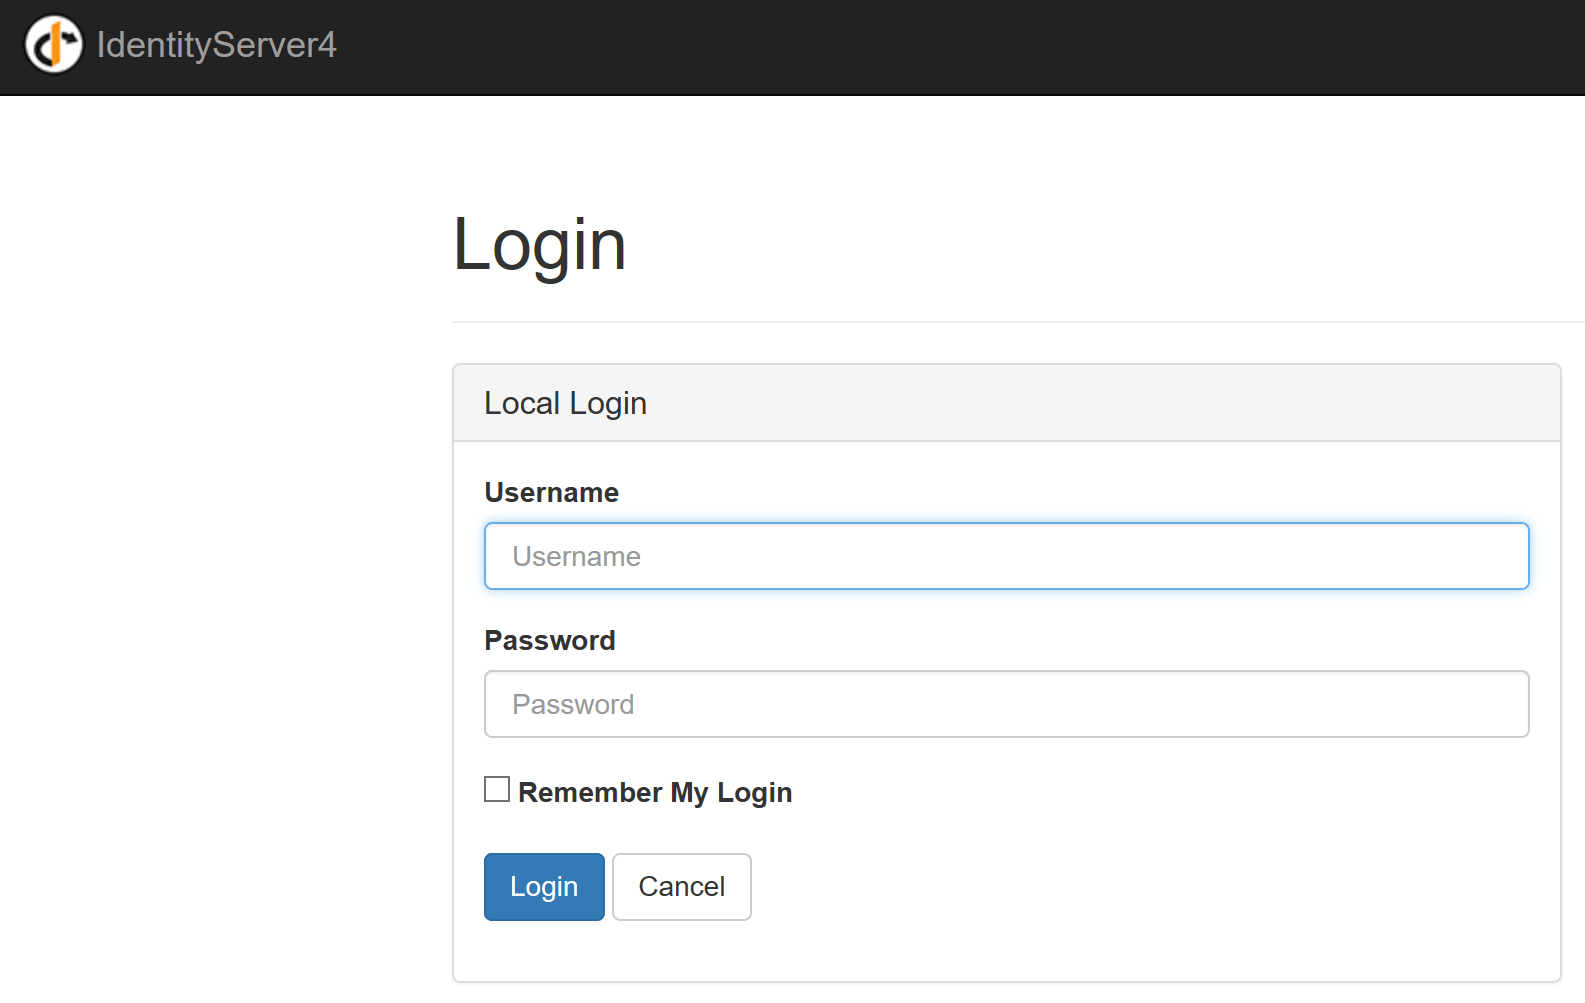
That's it for the authentication part. We now need to secure the chat, This is done by adding the AuthorizeAttribute to the HomeController. Now the app will redirect to the identity servers login page, if we try to access the view created by the secured controller:
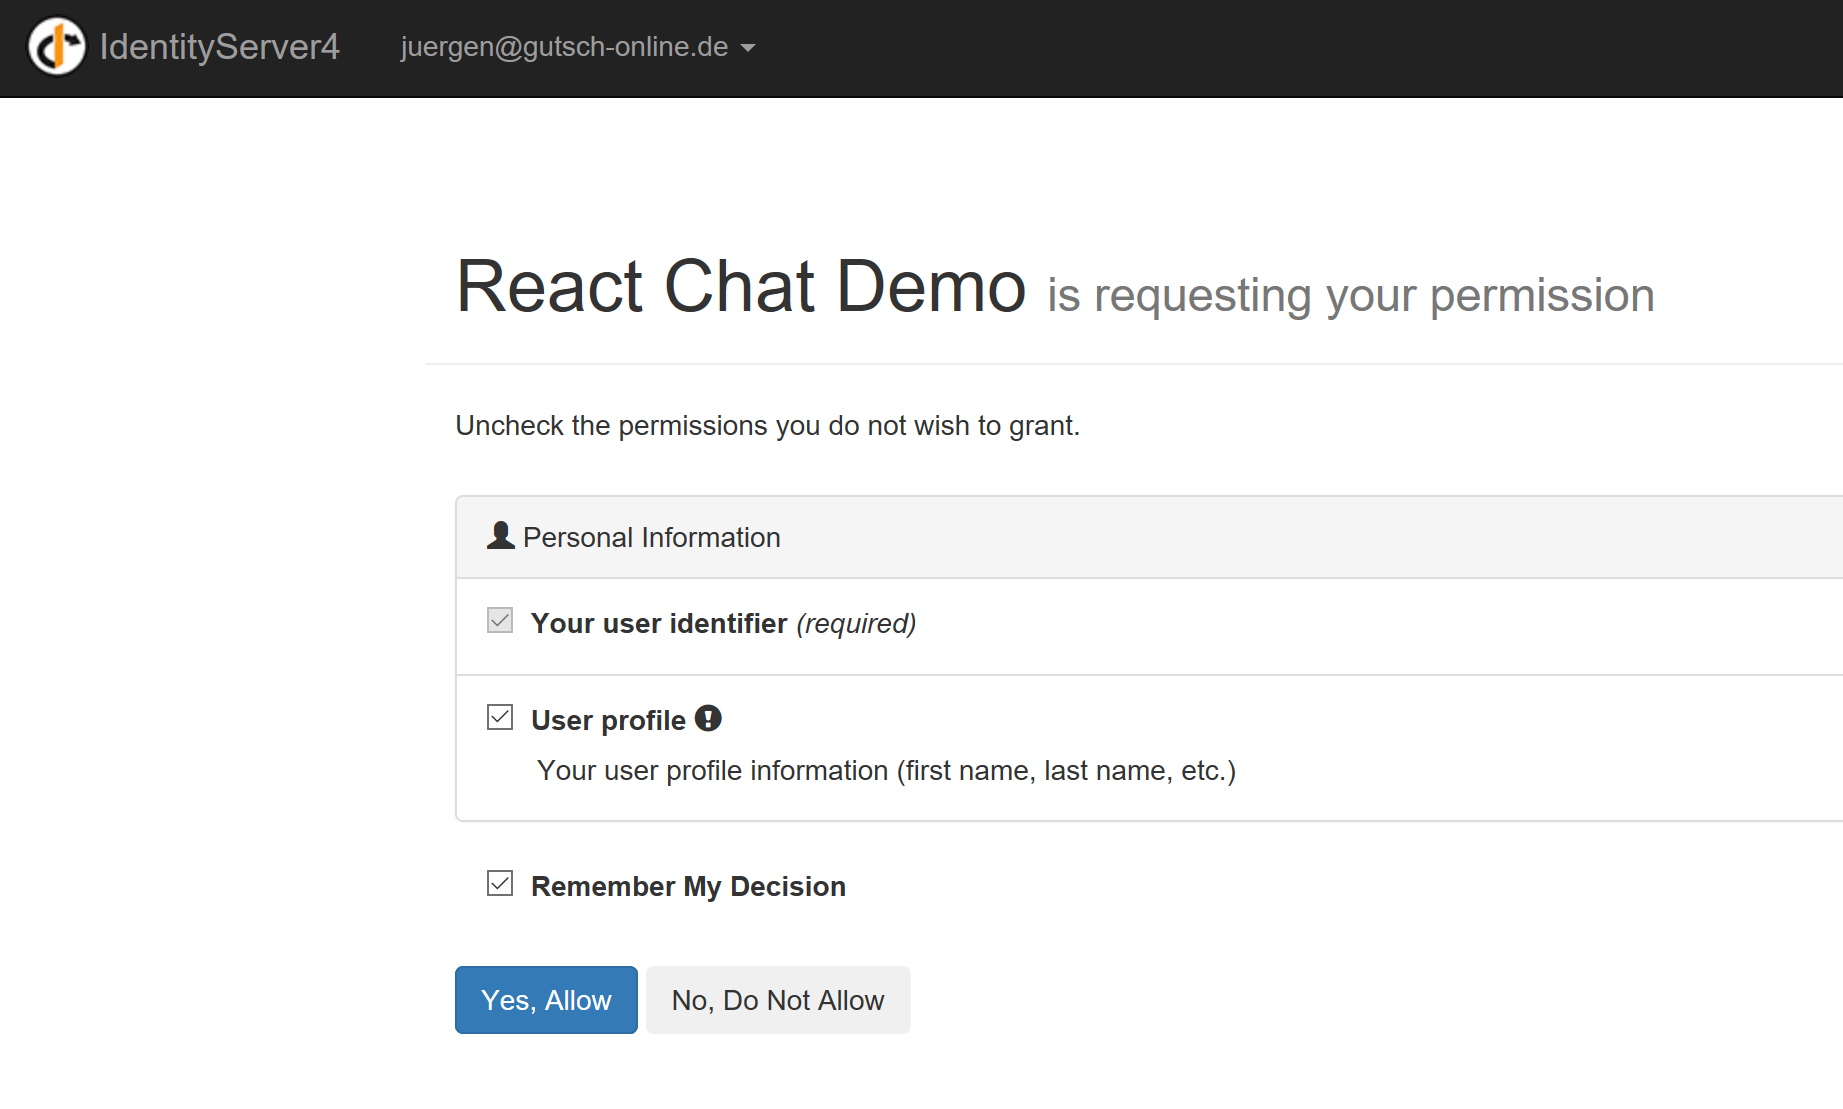
After entering the credentials, we need to authorize the app to get the needed profile information from the identity server:
If this is done we can start using the users name in the chat. To do this, we need to change the AddMessage method in the ChatHab a little bit:
public void AddMessage(string message)
{
    var username = Context.User.Identity.Name;
    var chatMessage =  _chatService.CreateNewMessage(username, message);
    // Call the MessageAdded method to update clients.
    Clients.All.InvokeAsync("MessageAdded", chatMessage);
}
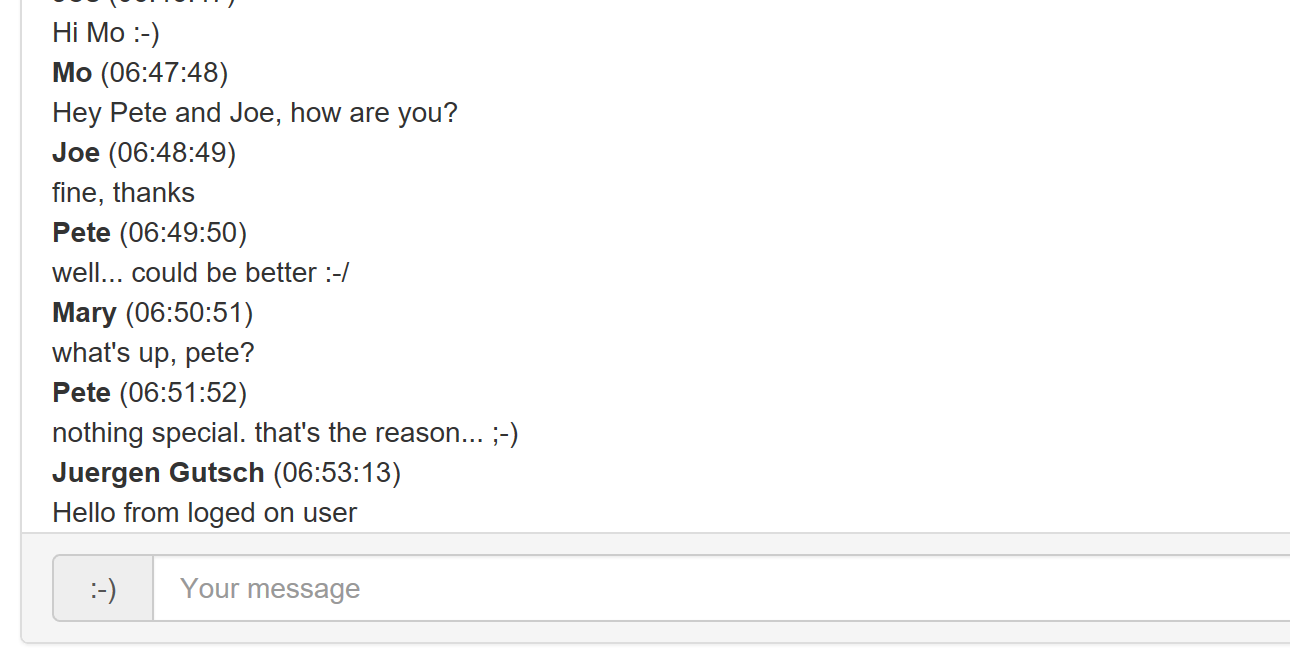
I removed the magic string with my name in it and replaced it with the username I get from the current Context. Now the chat uses the logged on user to add chat messages:
I'll not go into the user tracker here, to keep this post short. Please follow the GitHub repos to learn more about tracking the online state of the users.
Storing the messages
The idea is to keep the messages stored permanently on the server. The current in-memory implementation doesn't handle a restart of the application. Every time the app restarts the memory gets cleared and the messages are gone. I want to use the Azure Table Storage here, because it is pretty simple to use and reading the storage is amazingly fast. We need to add another NuGet package to our app which is the AzureStorageClient.
To encapsulate the Azure Storage I will create a ChatStorageRepository, that contains the code to connect to the Tables.
Let's quickly setup a new storage account on azure. Logon to the azure portal and go to the storage section. Create a new storage account and follow the wizard to complete the setup. After that you need to copy the storage credentials ("Account Name" and "Account Key") from the portal. We need them to to connect to the storage account alter on.
Be careful with the secrets
Never ever store the secret information in a configuration or settings file, that is stored in the source code repository. You don't need to do this anymore, with the user secrets and the Azure app settings.
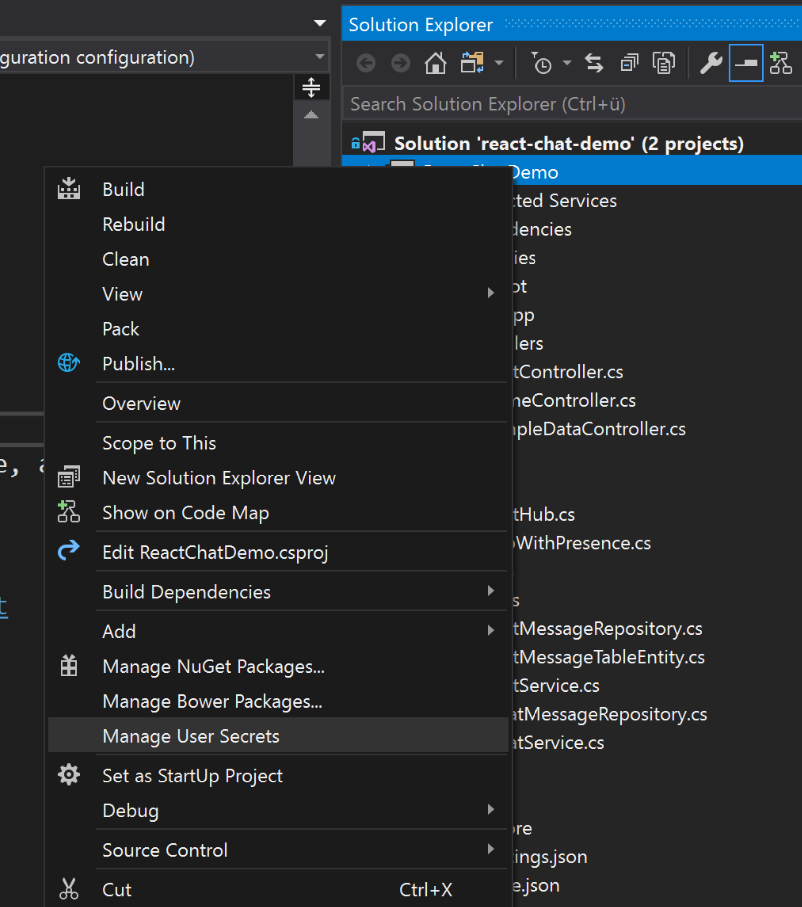
All the secret information and the database connection string should be stored in the user secrets during development time. To setup new user secrets, just right click the project that needs to use the secrets and choose the "Manage User Secrets" entry from the menu:
Visual Studio then opens a secrets.json file for that specific project, that is stored somewhere in the current users AppData folder. You see the actual location, if you hover over the tab in Visual Studio. Add your secret data there and save the file.
The data than gets passed as configuration entries into the app:
// ChatMessageRepository.cs
private readonly string _tableName;
private readonly CloudTableClient _tableClient;
private readonly IConfiguration _configuration;

public ChatMessageRepository(IConfiguration configuration)
{
    _configuration = configuration;

    var accountName = configuration.GetValue<string>("accountName");
    var accountKey = configuration.GetValue<string>("accountKey");
    _tableName = _configuration.GetValue<string>("tableName");

    var storageCredentials = new StorageCredentials(accountName, accountKey);
    var storageAccount = new CloudStorageAccount(storageCredentials, true);
    _tableClient = storageAccount.CreateCloudTableClient();
}
On Azure there is an app settings section in every Azure Web App. Configure the secrets there. This settings get passes as configuration items to the app as well. This is the most secure approach to store the secrets.
Using the table storage
You don't really need to create the actual table using the Azure portal. I do it by code if the table doesn't exists. To do this, I needed to create a table entity object first. This defines the available fields in that Azure Table Storage
public class ChatMessageTableEntity : TableEntity
{
    public ChatMessageTableEntity(Guid key)
    {
        PartitionKey = "chatmessages";
        RowKey = key.ToString("X");
    }

    public ChatMessageTableEntity() { }

    public string Message { get; set; }

    public string Sender { get; set; }
}
The TableEntity has three default properties, which are a Timestamp, a unique RowKey as string and a PartitionKey as string. The RowKey need to be unique. In a users table the RowKey could be the users email address. In our case we don't have a unique value in the chat messages so we'll use a Guid instead. The PartitionKey is not unique and bundles several items into something like a storage unit. Reading entries from a single partition is quite fast, data inside a partition never gets spliced into many storage locations. They will kept together. In the current phase of the project it doesn't make sense to use more than one partition. Later on it would make sense to use e.g. one partition key per chat room.
The ChatMessageTableEntity has one constructor we will use to create a new entity and an empty constructor that is used by the TableClient to create it out of the table data. I also added two properties for the Message and the Sender. I will use the Timestamp property of the parent class for the time shown in the chat window.
Add a message to the Azure Table Storage
To add a new message to the Azure Table Storage, I created a new method to the repository:
// ChatMessageRepository.cs
public async Task<ChatMessageTableEntity> AddMessage(ChatMessage message)
{
    var table = _tableClient.GetTableReference(_tableName);

    // Create the table if it doesn't exist.
    await table.CreateIfNotExistsAsync();

    var chatMessage = new ChatMessageTableEntity(Guid.NewGuid())
    {
        Message = message.Message,
        Sender = message.Sender
    };

    // Create the TableOperation object that inserts the customer entity.
    TableOperation insertOperation = TableOperation.Insert(chatMessage);

    // Execute the insert operation.
    await table.ExecuteAsync(insertOperation);

    return chatMessage;
}
This method uses the TableClient created in the constructor.
Read messages from the Azure Table Storage
Reading the messages is done using the method ExecuteQuerySegmentedAsync. With this method it is possible to read all the table entities in chunks from the Table Storage. This makes sense, because there is a request limit of 1000 table entities. In my case I don't want to load all the data but the latest 100:
// ChatMessageRepository.cs
public async Task<IEnumerable<ChatMessage>> GetTopMessages(int number = 100)
{
    var table = _tableClient.GetTableReference(_tableName);

    // Create the table if it doesn't exist.
    await table.CreateIfNotExistsAsync();

    string filter = TableQuery.GenerateFilterCondition(
        "PartitionKey",
        QueryComparisons.Equal,
        "chatmessages");
    var query = new TableQuery<ChatMessageTableEntity>()
        .Where(filter)
        .Take(number);

    var entities = await table.ExecuteQuerySegmentedAsync(query, null);

    var result = entities.Results.Select(entity =>
        new ChatMessage
        {
            Id = entity.RowKey,
            Date = entity.Timestamp,
            Message = entity.Message,
            Sender = entity.Sender
        });

    return result;
}
Using the repository
In the Startup.cs I changed the registration of the ChatService from Singleton to Transient, because we don't need to store the messages in memory anymore. I also add a transient registration for the IChatMessageRepository:
services.AddTransient<IChatMessageRepository, ChatMessageRepository>();
services.AddTransient<IChatService, ChatService>();
The IChatMessageRepository gets injected into the ChatService. Since the Repository is async I also need to change the signature of the service methods a little bit to support the async calls. The service looks cleaner now:
public class ChatService : IChatService
{
    private readonly IChatMessageRepository _repository;

    public ChatService(IChatMessageRepository repository)
    {
        _repository = repository;
    }

    public async Task<ChatMessage> CreateNewMessage(string senderName, string message)
    {
        var chatMessage = new ChatMessage(Guid.NewGuid())
        {
            Sender = senderName,
            Message = message
        };
        await _repository.AddMessage(chatMessage);

        return chatMessage;
    }

    public async Task<IEnumerable<ChatMessage>> GetAllInitially()
    {
        return await _repository.GetTopMessages();
    }
}
Also the Controller action and the Hub method need to change to support the async calls. It is only about making the methods async, returning Tasks and to await the service methods.
// ChatController.cs
[HttpGet("[action]")]
public async Task<IEnumerable<ChatMessage>> InitialMessages()
{
    return await _chatService.GetAllInitially();
}
Almost done
The authentication and storing the messages is done now. What needs to be done in the last step, is to add the logged on user to the UserTracker and to push the new user to the client. I'll not cover that in this post, because it already has more than 410 lines and more than 2700 words. Please visit the GitHub repository during the next days to learn how I did this.
Closing words
Even this post wasn't about React. The authentication is only done server side, since this isn't really a single page application.
To finish this post I needed some more time to get the Authentication using IdentityServer4 running. I stuck in a Invalid redirect URL error. At the end it was just a small typo in the RedirectUris property of the client configuration of the IdentityServer, but it took some hours to find it.
In the next post I will come back a little bit to React and Webpack while writing about the deployment. I'm going to write about automated deployment to an Azure Web App using CAKE, running on AppVeyor.
I'm attending the MVP Summit next week, so the last post of this series, will be written and published from Seattle, Bellevue or Redmond :-)


